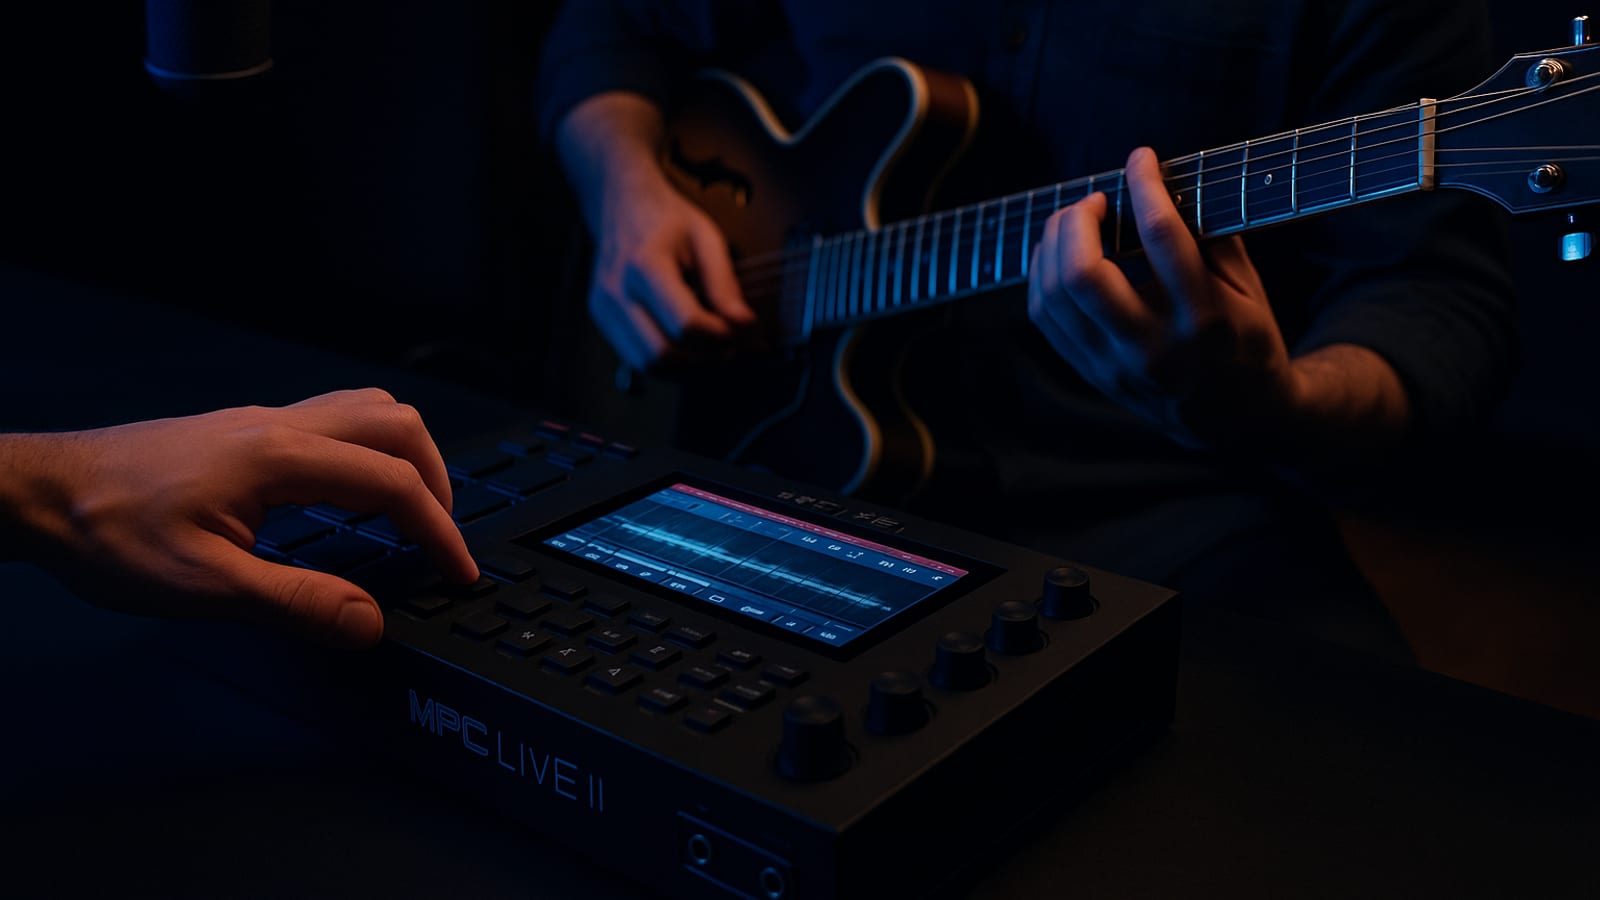
Most producers chase the next plugin, the next sample pack, the next shortcut. The ones who actually build something worth hearing do the opposite. They find a tool that rewards deep work and they go all the way in. The MPC Live II is that tool for cinematic production — a standalone machine that lets you build in silence, record live instrumentation, and walk away with tracks that sound like they belong in a film score.
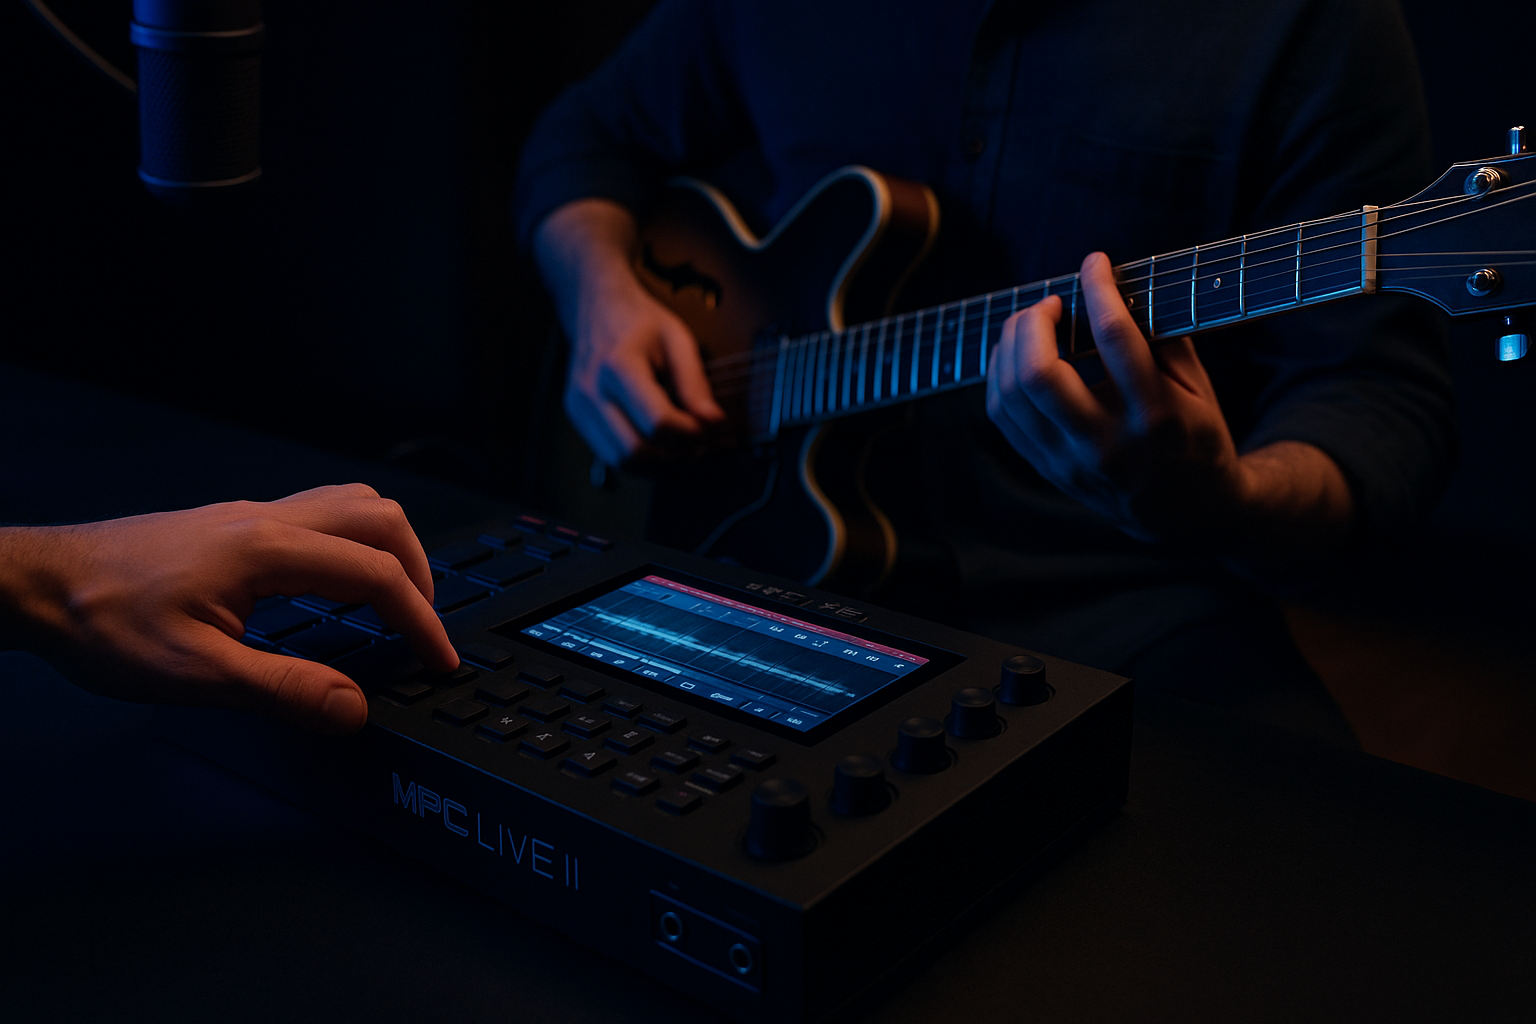
Why the MPC Live II Belongs in Your Cinematic Workflow
Here is what separates the MPC Live II from the crowded field of production hardware: it removes every excuse not to work. Built-in battery. Built-in speaker. No computer required. You can capture a full arrangement on a rooftop, in a studio, or on the road. Inspiration does not wait for a desk setup, and this machine does not either.
The processing power underneath handles complex, multi-layered arrangements without flinching. Cinematic music demands that — you are stacking orchestral samples, ambient textures, and live-recorded elements simultaneously. The responsive pads give you a tactile connection to the sound that a mouse and screen simply cannot replicate.
The onboard library covers orchestral samples, synth pads, and ambient textures. Import your own samples via USB or SD card and the possibilities expand further. For producers building cinematic beats, that combination of depth and flexibility is the foundation everything else sits on.
Getting Started: Setting Up Your MPC Live II
Before you record a single note, get your environment right. A clean setup means fewer interruptions and faster decisions when the ideas start moving.
- Power Up: Charge the unit fully or run it from a power source. The built-in battery gives you hours of uninterrupted work — use that freedom deliberately.
- Connect Instruments: Plug in your live instruments through the available inputs. The MPC Live II handles both line-level and instrument-level signals, so guitars, keyboards, and external synths all connect without adapters.
- Load Samples: Pull from the onboard library or import your own via USB or SD card. Organize samples into labeled folders before you start — you will thank yourself mid-session.
- Configure Settings: Set your sample rate and MIDI configuration to match your workflow. Get this right once and it stays right.
Setup done. Now the real work begins.
Crafting Your First Cinematic Beat
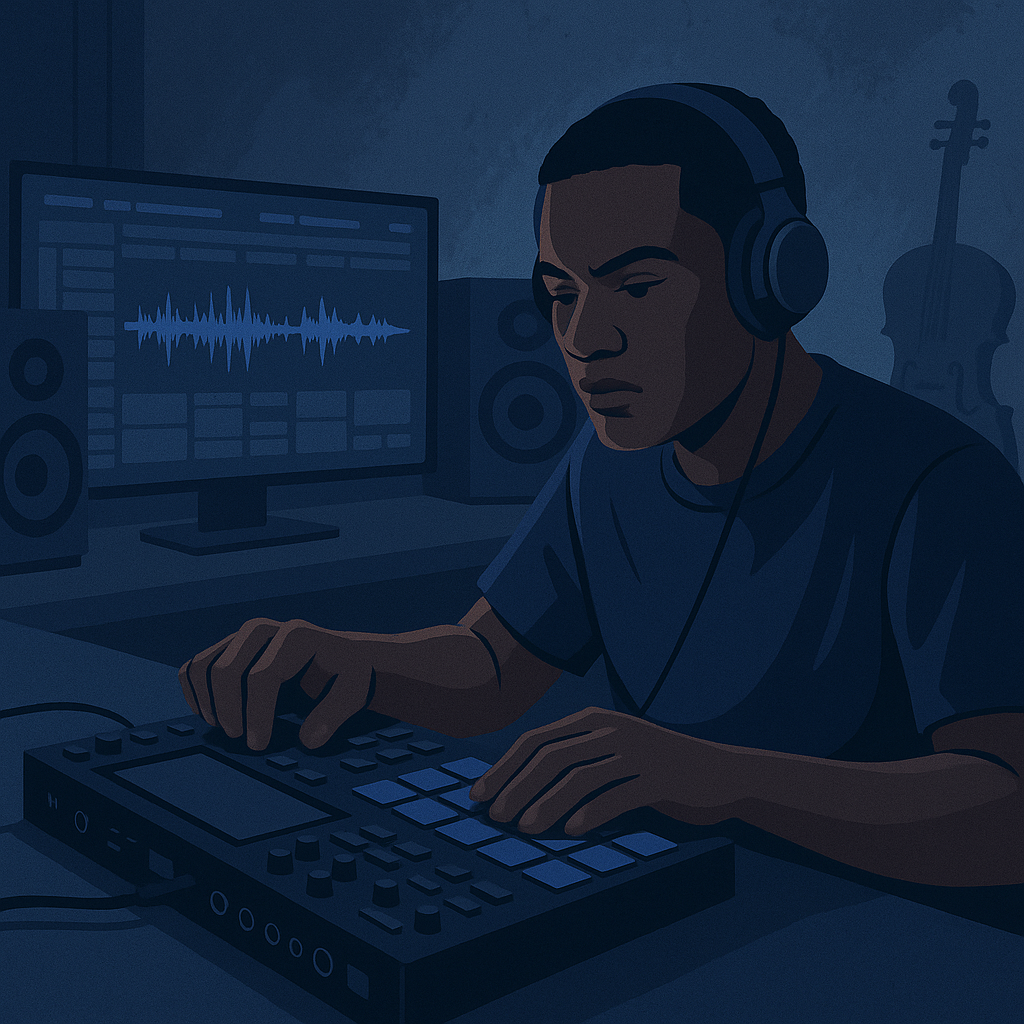
Cinematic production is about atmosphere before anything else. You are building an emotional environment, not just a beat. Work in layers and let each element earn its place in the mix.
1. Start with a Base Rhythm
Lock in a tempo that matches the emotional weight of the piece. Hit the pads and test drum kits until the rhythm feels inevitable — not just functional. The foundation has to be right before anything else goes on top of it.
2. Layer with Textures and Samples
Add orchestral samples, ambient noise, and synth pads to build depth. The MPC Live II lets you manipulate these sounds in real time. Dial in reverb and delay to push elements back in the mix and create a sense of space that pulls the listener in.
3. Incorporate Live Instrumentation
This is where the track stops sounding like a demo and starts sounding like a record. A piano melody, a string line, a single sustained note played with intention — live elements carry emotional weight that samples alone cannot replicate. Record directly into the MPC Live II using its multi-track recording capabilities. Keep the takes raw. Edit with purpose.
4. Fine-Tune and Arrange
Use the sequencer to build your arrangement. Transitions should feel earned, not abrupt. Watch your dynamics — cinematic tracks breathe. Quiet moments make the loud ones hit harder.
Advanced Techniques for Cinematic Production
Once the fundamentals are solid, these techniques separate a good track from one that stays with the listener.
- Automation: Automate volume, panning, and effects over time. Movement keeps a listener engaged across a long arrangement. Static mixes lose people.
- Sampling: Record live performances or field recordings and feed them back into the machine. The MPC Live II’s sampling engine lets you reshape those sounds into something entirely new.
- Layering: Stack sounds deliberately. Two or three complementary textures create richness that a single sample never will. Test combinations until the result surprises you.
These are not tricks. They are repeatable systems that compound over every track you build.
Bringing It All Together
The MPC Live II rewards producers who commit to it. The portability removes the barrier of location. The interface rewards experimentation. The processing power handles whatever you throw at it. Follow the framework in this guide and you will move from setup to finished cinematic track faster than you expect.
Want to go deeper on production techniques and tools? Visit TruZillah — a focused resource for music and entertainment insights built for producers who take the craft seriously.
Power up the MPC Live II. Connect your instruments. Build something worth hearing. 🚀
Integrating MIDI Controllers for Expanded Control
The MPC Live II is a complete standalone system. But pair it with the right MIDI controller and your control over dynamics, effects, and live performance expands significantly. More physical control means faster decisions and fewer interruptions to the creative process.
Choosing the Right MIDI Controller
Match the controller to how you actually work. For cinematic production, tactile control over dynamics and effects matters more than raw pad count.
- Piano-Style Controllers: Essential if you are recording live melodic lines or chord progressions. Expressive playability translates directly to emotional performance.
- Pad Controllers: Extend your beat-making surface and give you more simultaneous sample triggers without menu-diving.
- Fader Controllers: Built for mixing. Control volume across multiple tracks in real time without touching a screen.
Setting Up MIDI Integration
The connection process is straightforward. Do not overthink it.
- Connection: Use a standard MIDI cable or USB, depending on what your controller supports.
- Configuration: Open MIDI settings on the MPC Live II and map your controls to the parameters you use most. Do this once, save the template, and move on.
- Testing: Trigger sounds, move faders, and confirm every mapped control responds as intended before you start a session.
Sound Design with FX and Filters
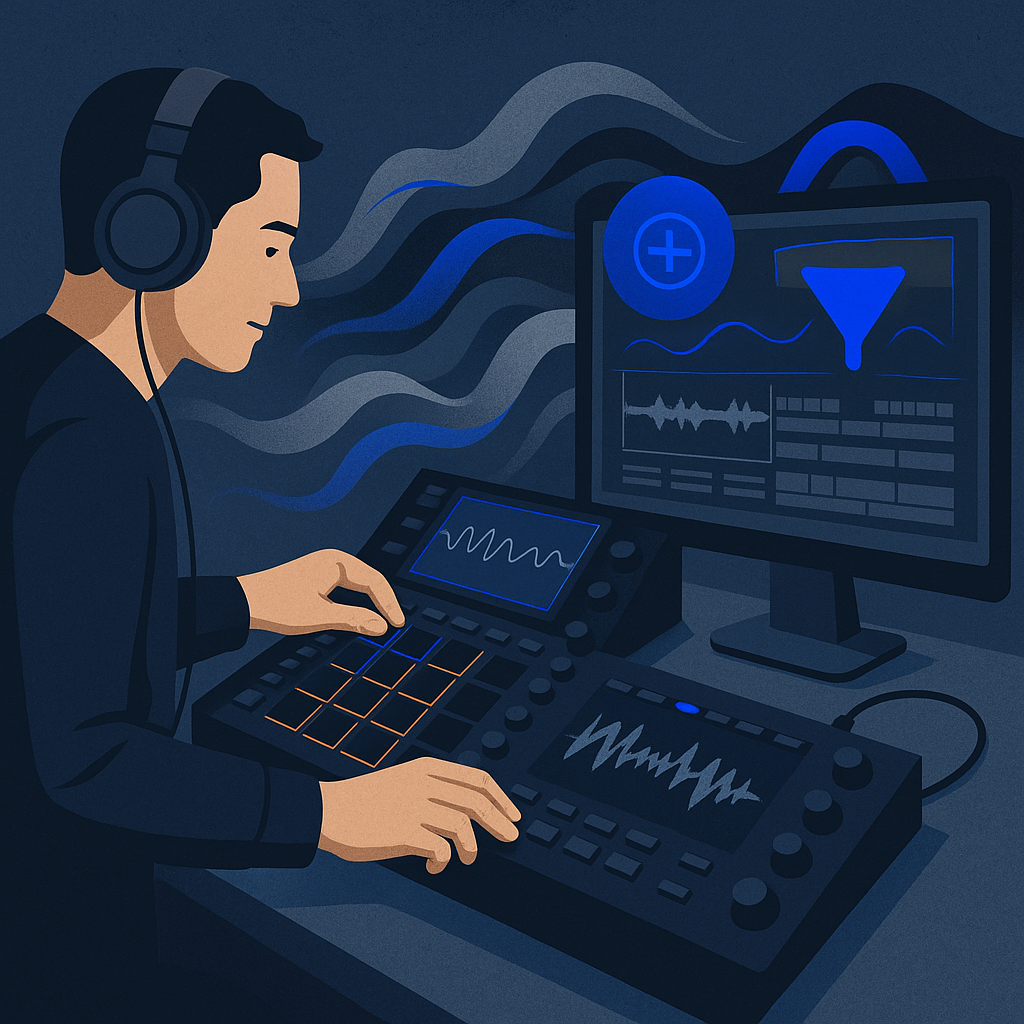
Cinematic tracks live or die on sound design. The MPC Live II gives you the effects and filters to shape every element with precision. Learn these tools and you stop chasing sounds — you start building them.
Utilizing Built-In Effects
The onboard effects engine covers the essentials and then some. Apply them to individual tracks or the master output depending on what the arrangement needs.
- Reverb: Place sounds inside a space — a tight room, a cathedral, an open field. Reverb is your primary tool for creating the sense of scale that cinematic music demands.
- Delay: Add rhythmic complexity or push an element deeper into the mix. Timed correctly, delay makes a simple part feel orchestrated.
- Chorus and Flanger: Thicken sounds and add movement. Use sparingly — these effects earn their place when they serve the track, not when they decorate it.
Applying Filters for Creative Control
Filters sculpt your frequency landscape. They are not just corrective tools — they are compositional ones.
- Low-Pass Filters: Roll off the highs to create warmth and tension. Useful for building into a drop or keeping bass elements focused.
- High-Pass Filters: Clear out the low end to let vocals or high-frequency instruments cut through without fighting the mix.
- Band-Pass Filters: Isolate a specific frequency range to highlight a sound or create a sweeping, cinematic effect that moves through the track.
Test these tools on every element in your arrangement. The producers who understand their signal chain build tracks with emotional depth that listeners feel before they can explain why.

Leave a Reply